Wednesday, February 15, 2017
Instant Sharpening in Photoshop
Instant Sharpening in Photoshop
Some images may lack sharpness which can be corrected in a few steps in Photoshop. You need not be an expert to do it. All it takes are three layers, desaturation, a Black layer Mask and Unsharp Mask. The process will work with all images.
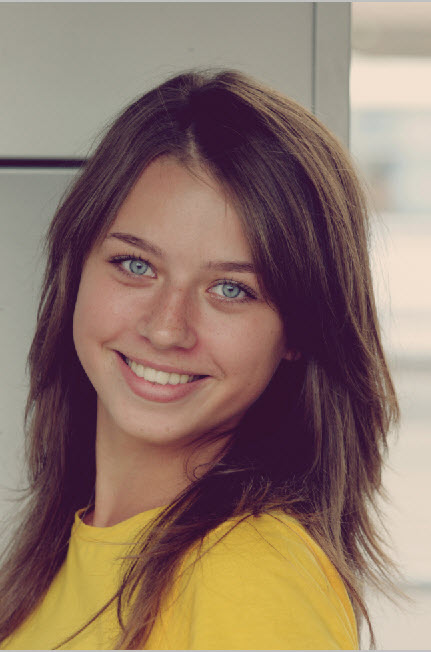
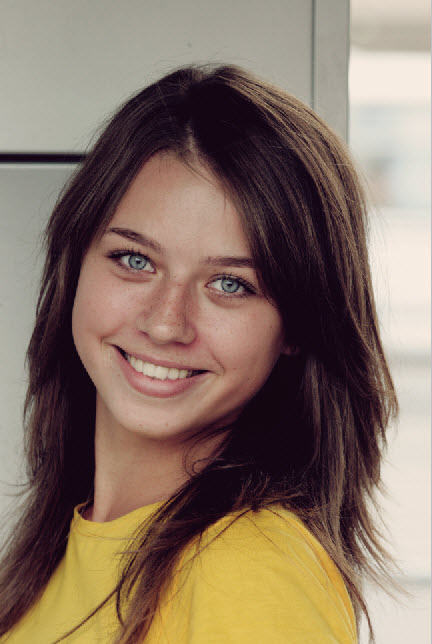
Step 1 : I have opened this free stock image in Photoshop. You will find it here
It belongs to lpool
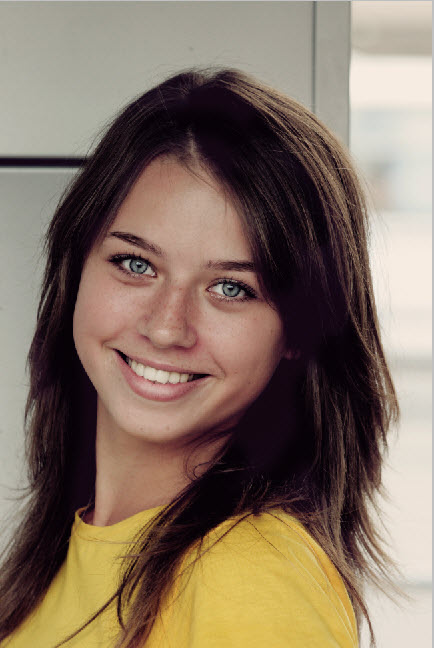
The sharpened image.
Step 2 : Press CTRL+J to duplicate the Background Layer.
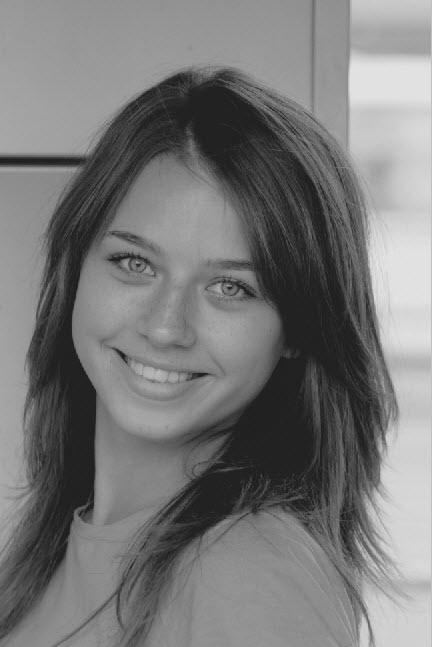
Step 3 : Press CTRL+SHIFT+U to desaturate the image.
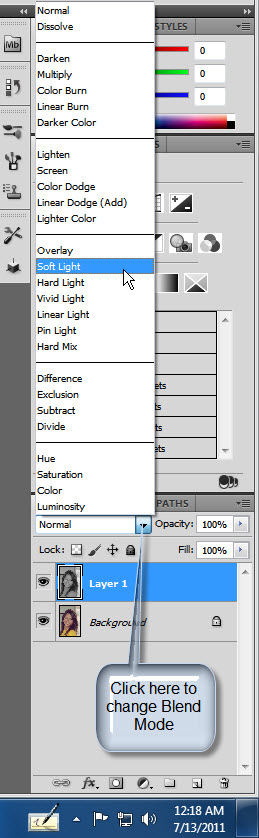
Step 4 : Change the Blend Mode to Soft Light.
You will immediately notice a difference in the image.
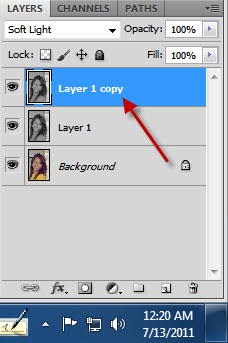
Step 5 : Press CTRL+J again. Layer 1 duplicates into Layer 1 copy.
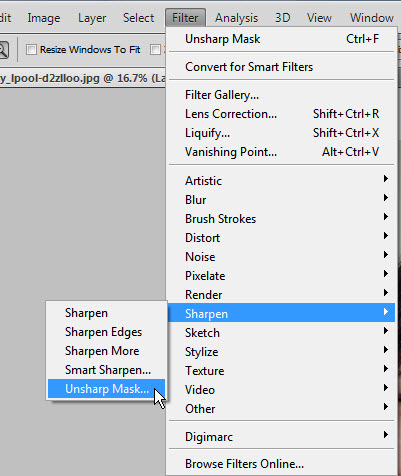
Step 6 : Go to Filter>Sharpen>Unsharp Mask.
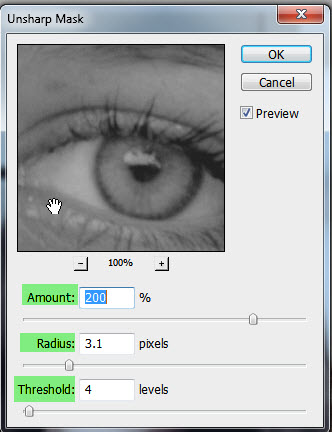
Step 7 : In the Unsharp mask set the Amount high at say 200, the Radius at 3.1 and Threshold to 4. Click OK.
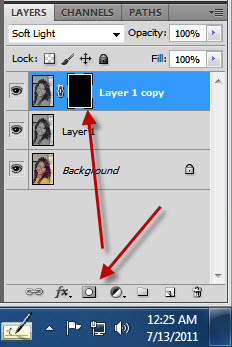
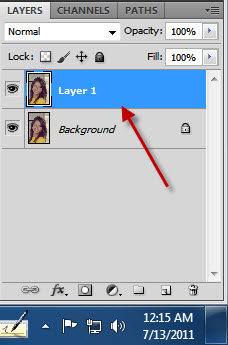
Step 8 : Press ALT+CLICK the layer Mask icon. A Black layer Mask forms next to layer thumbnail on Layer 1 copy.
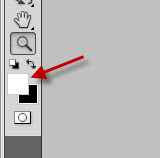
Step 9 : Make sure the Foreground Color is set to White.
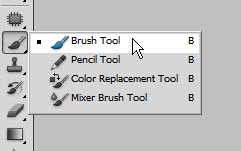
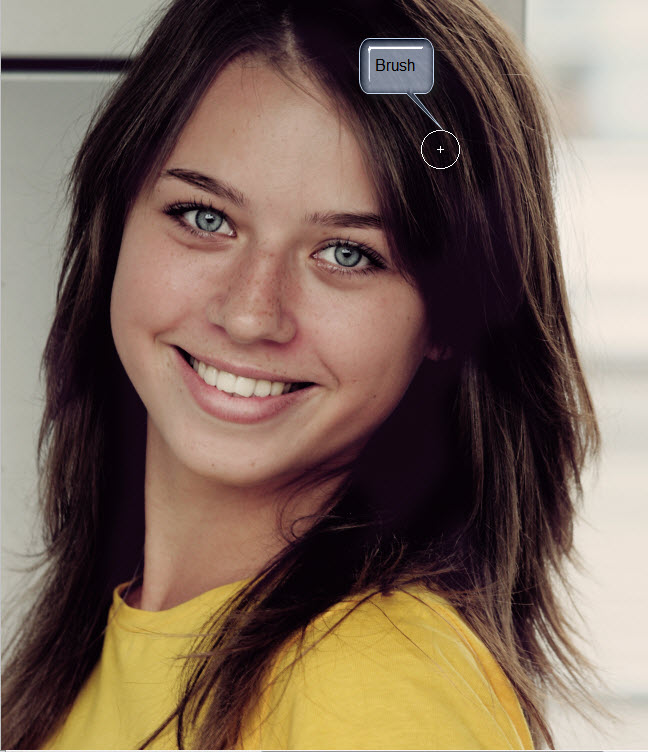
Step 10 : Click the Bush Tool.
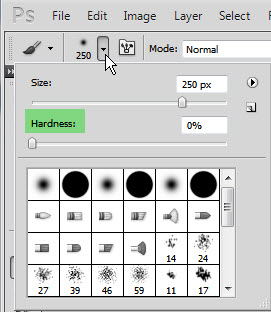
Step 11 : In the top panel click to see the Brush Controls. Set the hardness at 0. You need not set the Size. Press ] (right square bracket) to increase the size of the Brush and [ (left square bracket) to decrease it.
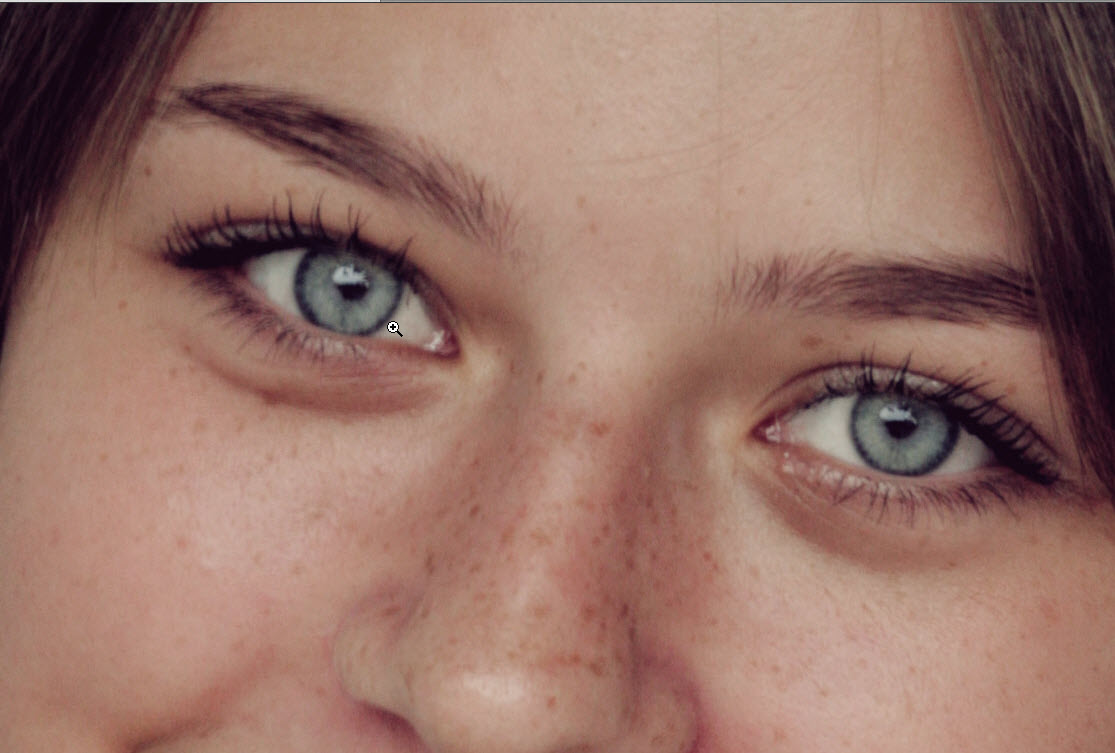
Step 12 : Zoom into the eyes.
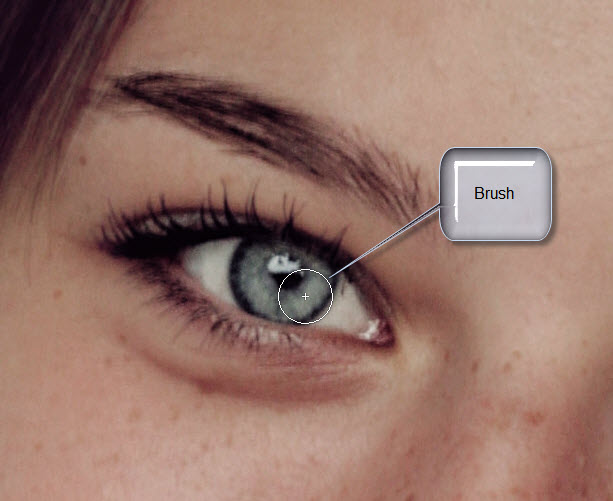
Step 13 : Click the Brush Tool again. Paint the eyes and the eyebrows.
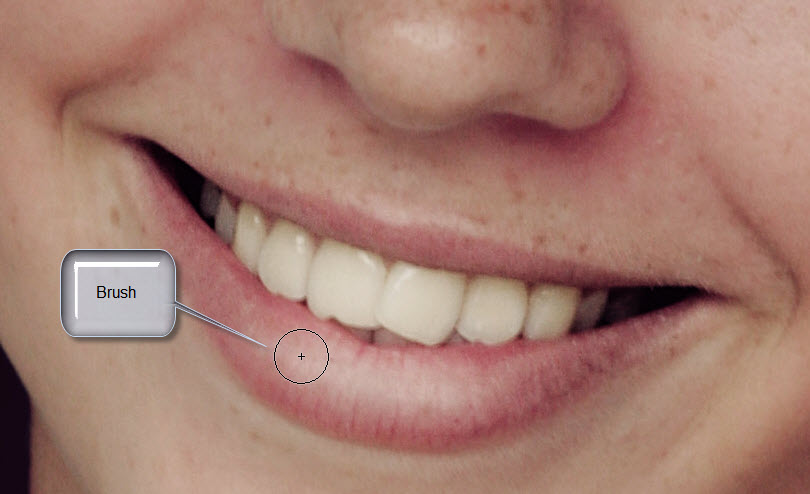
Step 14 : Paint the lips and teeth.
Step 15 : Zoom out. Paint the hair and the clothes and you are done.
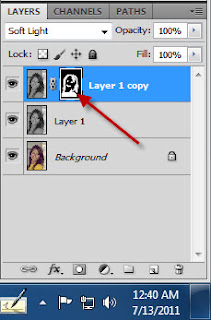
Look at the Layer Mask. You can see where you have painted away with the Brush to reveal the sharpened parts.
The finished image.
Other photoshop tutorials are here
Available link for download