Showing posts with label make. Show all posts
Showing posts with label make. Show all posts
Wednesday, February 8, 2017
How To Start Your Own Blog And Make Money Doing It Part 2 Tools And Resources
How To Start Your Own Blog And Make Money Doing It Part 2 Tools And Resources

READ ALL THE POSTS IN THIS SERIES:
Part 1: How To Start A Blog | Part 2: My Favorite Tools & Resources | Part 3: How To Monetize Your Blog

I wish I had had a friend or big sister who blogged who could show me the ropes... but instead, I had to figure it all out on my own. One of the things I had to do was research, and stalk other blogs to find out what sort of programs, equipment, and resources they used for blogging. It was really hard since I didnt have any terms or basic web knowledge to go off of. Thank goodness for Google!
This post is devoted to showing you all the basic tools I use on a daily basis. You may not need them all, depending on your specific blogging topic, but most of these are things I couldnt live without.
This series will be divided into three sections: Setting Up Your Blog, My Favorite Tools And Resources, and How To Monetize A Blog.
This series will be divided into three sections: Setting Up Your Blog, My Favorite Tools And Resources, and How To Monetize A Blog.

I also have several external hard drives. These are a must as you really should back up your files on at least two sources. I have mine on three different devices, and some of my most valuable and important files on dropbox as well. The reason I am a "crazy backup person" is because I recently had a nightmare situation where I took everything off my desktop so I could take it in for some work, and I put everything on my external... which died a few days after. My wedding photos, June and Jasons baby photos (and whole childhood up to that point), all my high resolution blog photos, and Etsy business was gone. I was devastated, so I had to send it in for recovery (drivesavers) and it cost me 2K to get everything back. Lesson learned: Never again!!!!

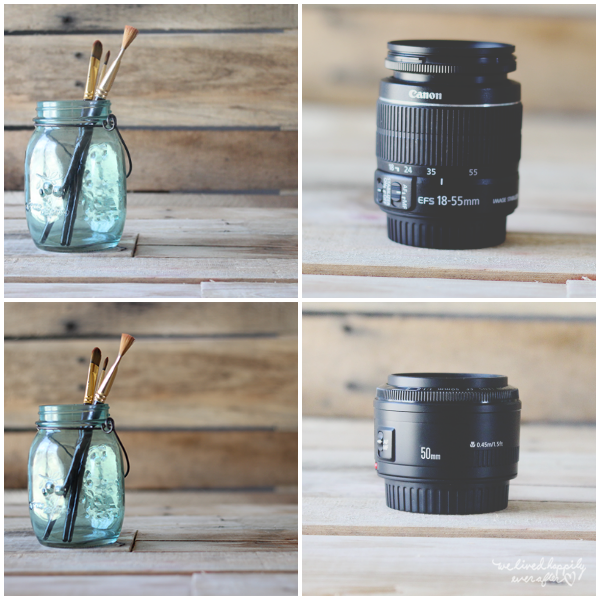
My Camera is a Canon t3i. It has since been replaced by a newer model like this one: Canon t5i I really need to get a clicker remote too, but this camera does have a timer, and can do both video and photos.
The started lens it comes with is the 18-55 lens. Its great for generic, every day use. You can see it in the top photo, and to its left is an unedited photo I took with it in natural light.
My favorite lens is actually a fixed lens (it cant zoom, but boy does this baby focus!) its the 50 mm
f/1.8 II lens. You can see it in the bottom right photo, with the photo to the bottom left showing the same photo as the 18-55, but taken with this lens. Every time I use this lens, my photos turn out better focused, with more vibrant color, and it really creates a dreamy soft light. The downfall to it is that you have to stand really far back to get a normal photo, because it doesnt zoom in or out. Its a fixed lens.
One photography tip: Shoot in natural light, and turn up the exposure on your camera (for good lighting)
Also, I recommend getting a lens protector to keep dust & scratches off your lenses. I use one like THIS.
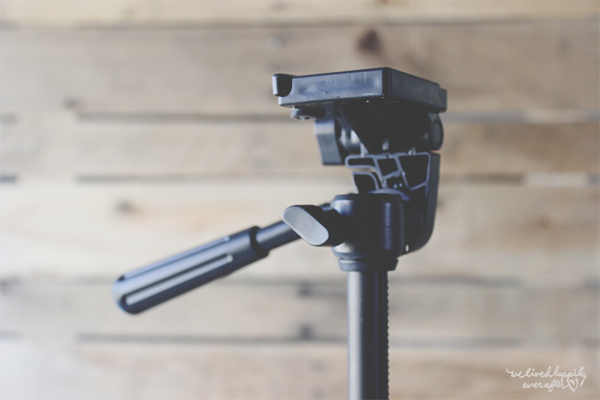
Also, everyone needs a tripod. It really makes a world of difference to be able to take photos with a steady hand. I got mine at Best Buy.

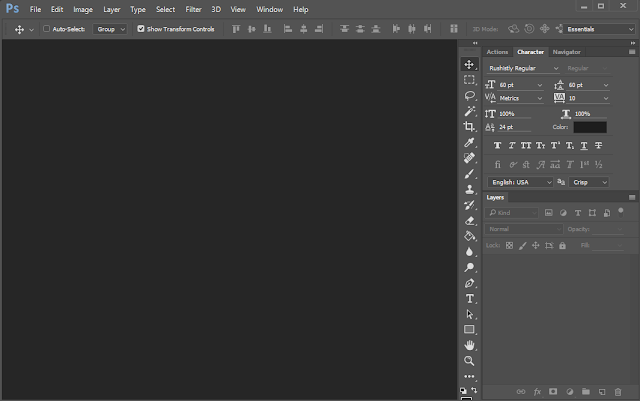
PHOTOSHOP.
Seriously. Get it. Its only $10 a month, which is the price of a couple cups coffee a month. You dont have to have a degree to use it, and the ability to edit your photos, design your site, and use layers and actions (filters) is priceless. My blog, you-tube and google- we will all help you learn. But it seriously is leaps and bounds better than everything else out there.

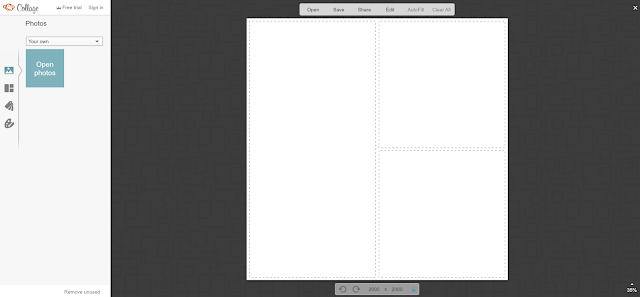
PicMonkey
While I dont use it for my photo editing, I do use picmonkey for their awesome free collage tool. Its so much easier than manually doing it in photoshop.

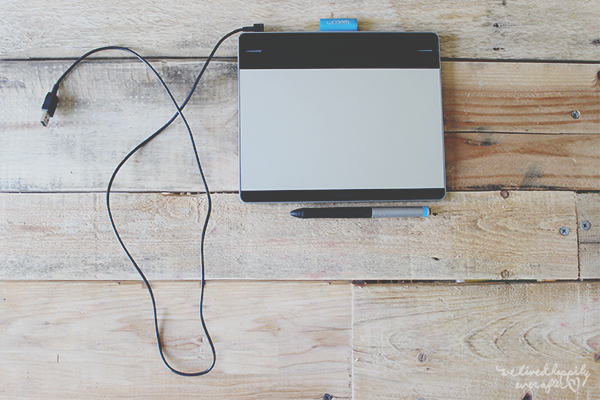
Wacom Intuos
So this is a tablet that you can draw directly into the computer with. Its basically a mouse pad with a pen that you connect via USB to your desktop or laptop. I have a wireless kit for it too. I started using this baby in 2012ish, and I could never go back. Its a great, inexpensive way to be able to draw, and use your own hand writing directly into the computer, and makes photoshop a breeze.
The downfall of this is you have to draw on the pad while looking up at the screen. I got really good at it, but there is really no substitution for drawing directly on a screen, which brings me to my recent upgrade (below)

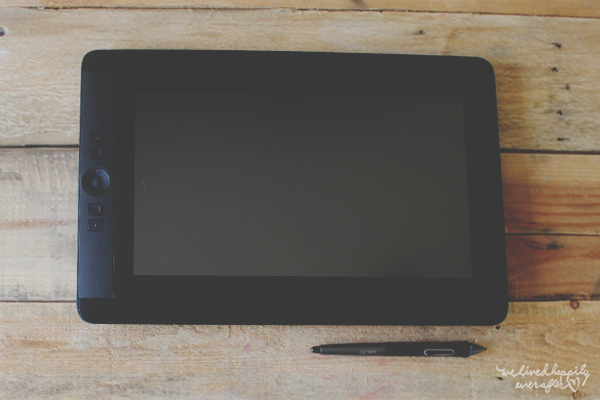
Wacom Cintiq 13HD
So I am in Love. The End.
This is the designers dream machine. I use it every day.
What is it? Its like a large tablet that acts as a computer monitor. You can draw directly on it... its kinda like using an iPad, but better. Its much more expensive than the Wacom Intuos, but if you are at all into digital design & photoshop, this machine will not disappoint. I cant sing its praises loud enough.
The only downside to the 13HD that I have is that you have to use it with a 3 in one power, hdmi, and usb cord, which Ive already had to replace twice (it was toggling in and out...) They actually have one that doesnt need to be plugged in and is a touch screen too. I should have gotten that one, but its a lot more expensive, and I exclusively use this on my desk anyways. But all in all, an amazing "I can never go back" tool.

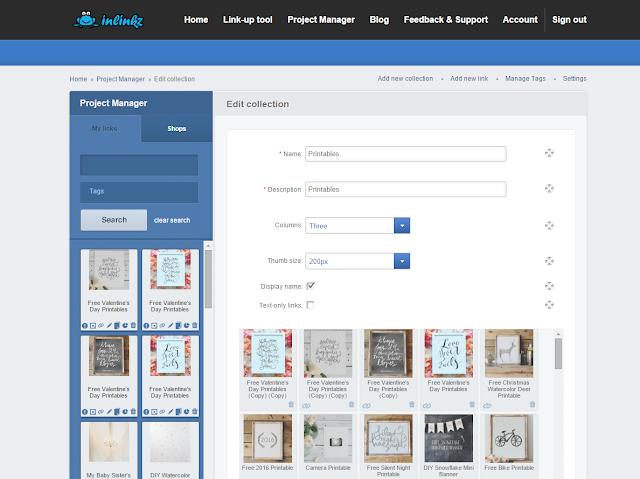
I use Inlinkzs Project Manager tool to organize all my posts by subjects in my menu. Some people are able to do thumbnails by using html... but I am all about user friendly, so this is what I use to organize my posts and menus.

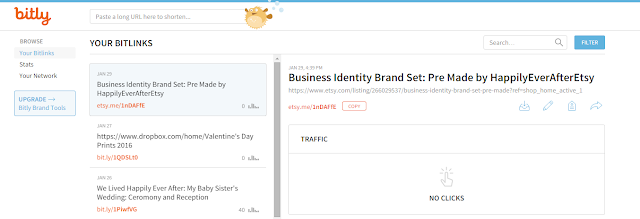
I use Bitly to create short, tracking links so I can tell how many people click on my links on places like facebook, links to my printables in my dropbox folders, sidebars, etc. Its super easy to use.


This is exactly what it sounds like. Google Analytics gives you lots of insight on your viewers, where they click on your site, how long the spend, etc. Its good stuff.


Anyone who has spent 5 minutes on my blog knows how much I use Drop Box. Its awesome for file sharing. I use it for freebie printables, graphics, and patterns.

So those are my top used tools and resources (all of which I basically use on a daily basis!)
Stay tuned for Part 3: How To Monetize Your Blog
This post includes affiliate links. All opinions are my own, but I only promote things that I love and think you will love too! :)
Available link for download
Friday, December 23, 2016
How to start a blog and make money online
How to start a blog and make money online
 Blogging is gigantic. A large number of online journals populate the web with always upgraded data and excitement about every conceivable theme. You can blog for the sake of entertainment, for family, for your own particular individual delight, or to profit. Blogging to profit has turned into a standout amongst the most famous explanations behind beginning a website.
There are some steps to create your own blog and earn money online.
1
Utilize a free blogging stage, for example, Blogger, or secure an online journal on your own site with a top-level realm name. To profit, you can utilize either, yet the recent decision is more expert. Assuming that you propose to change your site into a whole web business, acquiring a dominion name and expert site facilitating is prescribed.
2
Make the online journal look great. Beginning a site to profit obliges some level of professionalism. Look for quality, engaging web journal patterns and pick the particular case that you like the most. Three section plans will leave more space for promotions.
3
Place relevant promoting, for example, Google Adsense, on the site, and expansion activity to pull in additional clicks. This is totally detached salary and ought to be a piece of each site business.
4
Offer promoting to other site managers and webmasters. A straightforward "Spot Your Link Here for..." catch will pull in some pain free income. Then again, you can additionally join online projects that match websites with publicists and handle the funds for you. Spots like Payperpost, Smorty, and Blogitive offer chances to profit with your website by composing presents with connection backs on sponsors sites.
5
Market the site to get guests. Beginning a web journal to profit obliges minimal fiscal consumption, and promoting might be economical, or even free, too. Investigate the potential outcomes of article promoting, blogrolling, pay to click publicizing, adding connections to gathering posts and other websites remark segments. The more connections you spread around the web, the more excellent the shot of an intrigued individual discovering your site and making benefit for you. Beginning a web journal to profit just works assuming that you catch up with proceeded exertion.
Available link for download
Thursday, November 24, 2016
Increase virtual RAM to make system faster
Increase virtual RAM to make system faster

Just follow these steps to increase its size.
1) Hold down the Windows Key and Press the Pause/Break button at the top right of your keyboard.
Another way is Right-Clicking My Computer and then Select Properties.
2) Click on the Advanced tab.
3) Under Performance, click Settings.
4) Then click the Advanced tab on the button that pops up.
2) Click on the Advanced tab.
3) Under Performance, click Settings.
4) Then click the Advanced tab on the button that pops up.
5) Under Virtual Memory at the bottom, click Change.
6) Click the Custom Size button.
7) For the initial size (depending on your HD space), type in anywhere from 1000-1500 , and for the Maximum size type in anywhere from 2000-2500 .
8) Click Set, and then exit out of all of the windows.
9) Finally, Restart your computer.
10) You now have a faster computer and 1-2GB of Virtual RAM..!
Available link for download
Subscribe to:
Posts (Atom)