Showing posts with label s. Show all posts
Showing posts with label s. Show all posts
Monday, February 13, 2017
I727UCKJ2 Stock ROMs for AT T and Rogers GALAXY S II Skyrocket SGH i727
I727UCKJ2 Stock ROMs for AT T and Rogers GALAXY S II Skyrocket SGH i727
Heres the I727UCKJ2 Android 2.3.5 Gingerbrd stock ROM for Galaxy S2 Skyrocket I727 (carrier branded) by AT&T - USA. This is the original production firmware since its relsed. Well, this ROM is useful for future use just in-case if the device might suffered a soft-brick issues that might happen and the only option is to flash back its firmware to fix the problem (return to stock)
Available link for download
Tuesday, February 7, 2017
HTC Butterfly Samsung Galaxy S III Killer
HTC Butterfly Samsung Galaxy S III Killer
The HTC Butterfly has now been officially released in the Philippines, with a retail price of Php30,990. The HTC Butterfly comes equipped with a 5-inch 1080p display (1080 x 1920), making it the second 1080p phone to hit Philippine shores, Inside you have the same Qualcomm S4 Pro chipset and 2 GB of RAM which powers the Google Nexus 4. The phone comes with Android 4.1 out of the box, but it is upgradeable to Googles latest and greatest Android 4.2.
Update: Everything sounds good, except for one thing, the Philippine version apparently does not have LTE enabled.
Update: Everything sounds good, except for one thing, the Philippine version apparently does not have LTE enabled.

As for the other specifications, the HTC Butterfly comes with the same 8MP camera used in the high end 2012 HTC phones, and comes with a 2.1 MP front camera. HTC has gone back to providing expandable storage in their phones, and this one comes with 16 GB of storage with a MicroSD card slot, so there should be no complaints there.
The Butterfly is actually a late 2012 model which has been on sale in Japan, while a similar model, the HTC Droid DNA has been on sale in the US, since late last year. The HTC Butterfly will not be the companies top of the line offering for 2013. What the HTC Butterfly is design to do is take back some serious sales number from the Samsung Galaxy S III, and even the Note II, until the next round of new Android phone released coming this summer.
Does the HTC Butterfly succeed? It does, but not completely. It is certainly the best smartphone available in the Philippine market today for those who dont care about LTE. The 5-inch displays is a "super-retina" display with 441 pixels per inch. Its like having an Full HD TV in your hand. Still many might not notice the difference between this and 4.7 or 4.8-inch phones with 720p displays.
Despite the large, high resolution screen, the battery life matches the Samsung Galaxy S III. It has enough power to make it relevant for the next two years or so you would normally keep a smartphone. The LTE tech inside, makes sure it wont feel obsolete anytime soon.
Despite the large, high resolution screen, the battery life matches the Samsung Galaxy S III. It has enough power to make it relevant for the next two years or so you would normally keep a smartphone. The LTE tech inside, makes sure it wont feel obsolete anytime soon.
Still the Samsung Galaxy S III still has some advantages. The Samsung Galaxy S III still has a better camera. The Samsung Galaxy S III has a user replaceable battery. Finally, the Samsung Galaxy S IIIs price has gone steadily over the past 9 months since its release, down to just a bit over 25K.
LTE would have made the HTC Butterfly a clear winner. Without LTE, the HTC Butterfly, like the Samsung Galaxy S III will feel obsolete in a matter of a few months. Hold on to what you got, or buy something cheap in the interim.
Available link for download
Saturday, November 26, 2016
How To Root Samsung Galaxy S Duos 7562
How To Root Samsung Galaxy S Duos 7562
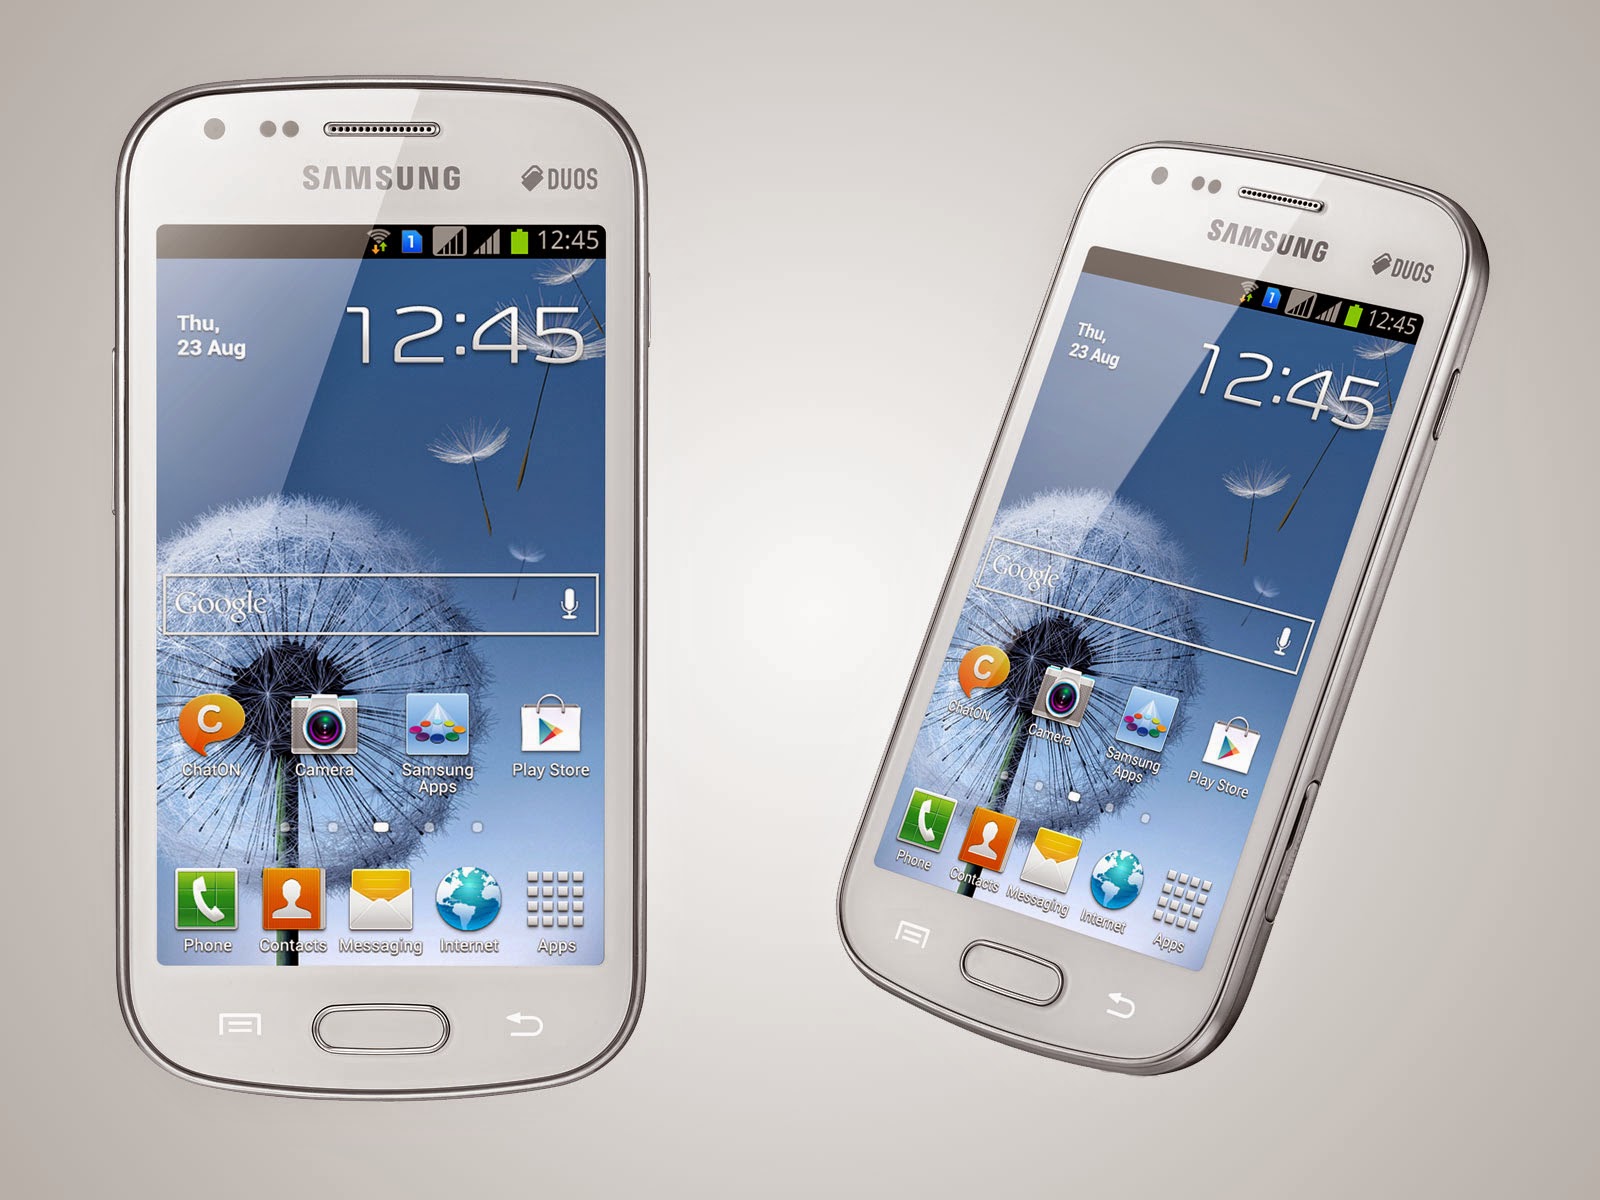
Requirements For Rooting S Duos 7562:
1. Make sure your mobile should possess 70 to 80% battery
2. Enable USB debugging mode (Menu (app drawer) > Settings > Manage Applications > Development > USB Debugging – check box)
3. Ensure that you have backed up your all important data.
4. Install Samsung Galaxy S Duos S7562 USB drivers. (Download USB drivers or download Samsung Kies (drivers included))
Disclaimer: Rooting your device voids will void its warranty. We are not the developers (iDroidSpace.com) if anything happens to your phone while performing mentioned tutorial then don’t blame us. And the strict instruction, this root method is only for Samsung Galaxy S duos S7562 so don’t try on any other phone. Follow the tutorial as per your own risk 
Step by Step Guide on:
How to root Samsung Galaxy S duos
Step 1: Download and extract Samsung Galaxy S duos “Rooting kit“ on your computer.
Step 2: Switch Off your phone, take out the battery and insert it back. Now boot your phone into Download Mode by pressing and holding the Volume Down + Home button together, and then press the Power button till you see the Android Construction logo. Once again press Power button to confirm.
Step 3: Open “Odin.exe” (from extracted folder) and connect your phone via USB cable with your computer in download mode. If your phone is connected successfully the one of the ID:COM boxes will turn yellow.
Step 4: Click on “PDA” button and select file “recovery.tar” (from extracted folder).
Step 5: Please make sure that only F. Reset Time and Auto Reboot options are checked on Odin.
Step 6: Now, click on the Start button on Odin to start the installation process. Installation will take a few minutes to complete so please wait for the complete process.
Step 7: Finally, when the installation process is completed successfully you will see the “PASS” message on Odin and then your device will reboot automatically. When the phone boots up (vibrates) then immediately remove the battery and after 1-2 minutes start your phone
Available link for download
Tuesday, November 8, 2016
How to Root Galaxy S II I9100 Running Android 2 3 4 Gingerbrd XXKG2 Firmware
How to Root Galaxy S II I9100 Running Android 2 3 4 Gingerbrd XXKG2 Firmware
Heres a step by step procedure on how to root your Galaxy S II I9100 that now runs Android 2.3.4 Gingerbrd firmware version I9100XXKG2 (OXA). This method of rooting is by using Chainfires modified kernel that can root the Galaxy S II
Ftures:
- The kernel is fully stock and taken from the original firmware, with just the following added:
- Root
- Superuser 2.3.6.1
- Busybox
Available link for download
Friday, October 21, 2016
HP LaserJet Error Messages S – Z
HP LaserJet Error Messages S – Z
| Message on printer display | What it means | What to do |
| SHORTAGE PAGE SIMPLIFIED | The printer had to compress the job to fit it in available memory. Some data loss might have occurred. | 1. Press GO to continue. (The print quality of these pages might not be acceptable.) Add more memory to the printer or to simplify the print job |
| RAM DISK IS WRITE PROTECTED | RAM disk is protected, and no new files can be written to it. | Disable the write protection through HP JetAdmin. |
| TONER LOW | The message first appears when about 15 percent of the toner is remaining in the toner cartridge (about 1,500 pages remaining for the 10,000-page cartridge and about 900 pages remaining for the 6,000- page cartridge at five percent coverage). Depending on how the printer has been configured in the configuration menu, it will either continue to print or stop. | If the printer has stopped, you can resume printing by pressing GO for each job. The high voltage power supply could also cause this error. |
| TONER OUT | The toner cartridge has run out of toner. Depending on how the printer has been configured, it will either continue to print or stop. Due to the resolution of the toner level sensor, it is possible that a small amount of toner (less than one percent) might still be present in the cartridge. | If the printer has stopped, you can resume printing by pressing GO for each job. Replace toner cartridge. The high voltage power supply could also cause this error. |
| TRAY [X] EMPTY [TYPE] [SIZE] | The specified tray is empty, but the current job does not need this tray in order to print correctly. If this message appears and the tray contains print media, a sensor could be damaged. | 1. Load the empty tray (x) to clear the message. If you do not load the specified tray, the printer will continue printing from the next available tray, and the message remains. 2. If the message remains after the specified tray is loaded, check sensor arm flags for damage and be sure they move freely. 4. Replace defective paper out sensors. |
| TRAY [x] LOAD [TYPE] [SIZE] where x is tray 2, 3, or 4 | This message occurs for the following reasons: Tray 2, 3, or 4 was requested, but the tray is empty. Tray 2, 3, or 4 was requested, but the adjustments are not set for the requested type or size. | 1. Make sure that all three paper size adjustments have been made. Also make sure that the type has been set at the control panel. 2. Load the requested media into an indicated tray. Ensure the tray is fully seated. 4. Make sure the paper tray is set for the proper size. Also you might need to replace the cassette size PCA. |
| TRAY 1 LOAD [TYPE] [SIZE] | The print job has requested a size and/or type of media that is not loaded. | Load the requested print media into tray 1 (or any other desired tray). - Ensure that the trays are correctly adjusted for size. - The tray type settings (and size for tray 1) must be set from the paper-handling menu. If this message appears and the correct media is loaded: - Ensure that all paper size adjustments have been properly performed (see page 220). - Ensure the tray type setting is correct in the paper-handling menu. - Check the size tabs on the right side of the tray. - Check the size switches and paper sensors. - Ensure the tray is fully seated. |
| TRAY 1 SIZE = [xxxx] | The printer is asking what size of media has been loaded in tray 1. | In response, you can take either of the following actions: 1. Press SELECT to accept the paper size. 2. Press -VALUE+ to change the size and then press SELECT to accept the new size. The printer will first display the TRAY 1 TYPE = XXXX message (see the description of that message). If you do not press any buttons in the time-out period (about one minute), it displays this TRAY 1 SIZE = XXXX message. Changing the size here changes the default for tray 1 paper size in the paper-handling menu. |
| TRAY 1 TYPE = [xxxx] | The printer has received a job under the three following conditions: - The media type requested by the job is not available in the printer. - Tray 1 has been set for CASSETTE. - Media has been placed in tray 1 (thus triggering tray 1’s paper sensor). If you do not press any buttons, the message disappears in about one minute). | You can take either of the following actions: 1. Press SELECT to accept the paper type. 2. Press -VALUE+ to change the type and then press SELECT to select the new type. Note Changing the type here changes the default for tray 1 media type in the paper-handling menu. If you do not do anything during the time-out period (about one minute), the printer will print on the media in tray 1. |
| UNABLE TO MOPY JOB | Memory or file system failures would not allow a mopy job to occur. Only one copy will be produced. | 1. Reseat RAM DIMMs and/or the EIO hard disk. 2. Install additional memory or an EIO hard disk. |
| Available link for download
Read more »
Subscribe to:
Posts (Atom)
|